WordPress SEO: the settings to fix in the first hour
WordPress is SEO-friendly out of the box, mostly. A handful of default settings work against you, and a few plugin options are easy to get wrong. Here is the hour of setup we do on every new WordPress site.
WordPress runs a huge share of the web, and it gets a lot of things right for SEO by default: clean HTML, headings in sensible places, easy editing. But a fresh install also has settings that quietly hurt you, and plugin choices that can create more problems than they solve.
This is the setup we run through on every new WordPress site. Give it an hour and you'll avoid most of the issues that usually turn up in audits later.
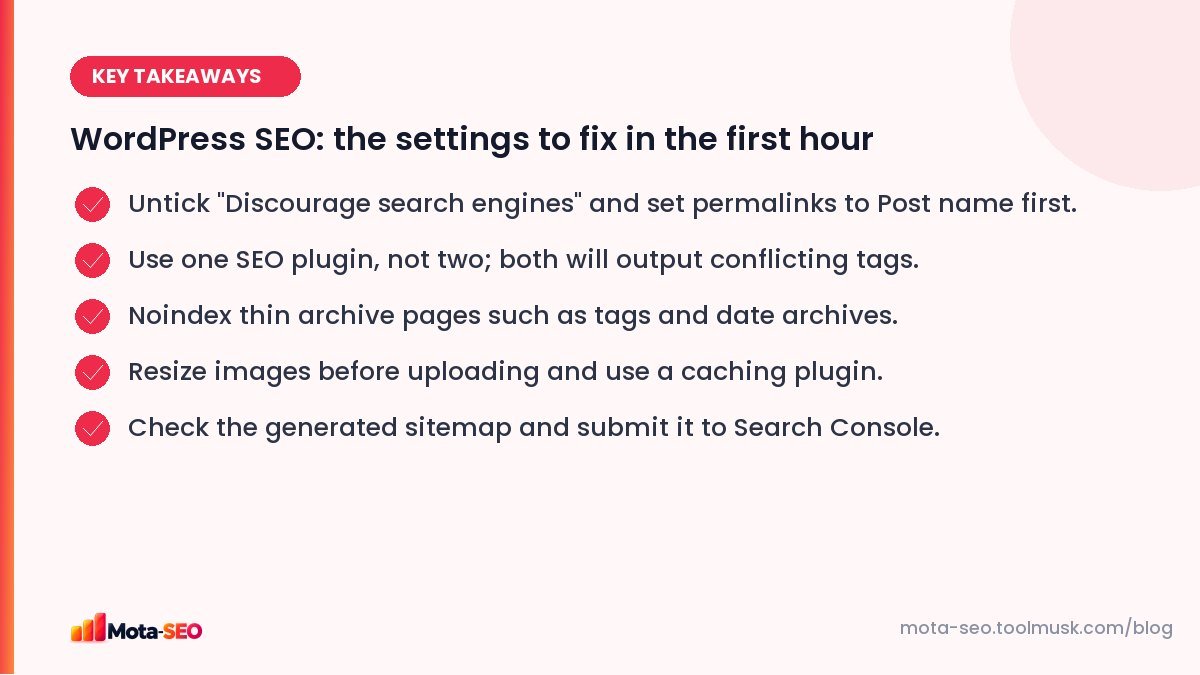
Key takeaways from this guide
Step 1: Search visibility (2 minutes)
Go to Settings → Reading and make sure "Discourage search engines from indexing this site" is unticked. When ticked, WordPress adds a noindex rule to every page. It's often switched on during development and forgotten.
Check it worked by viewing the source of your homepage and searching for noindex. There should be no match, or our meta tags checker will show the robots tag for you.
Step 2: Permalinks (5 minutes)
Under Settings → Permalinks, choose Post name. URLs become /how-to-choose-a-water-purifier/ instead of /?p=123. Do this before you publish anything; changing it later means every URL changes, and you'll need redirects.
Should you include the category in the URL (/%category%/%postname%/)? Only if your categories are stable. If you might reorganise them, keep URLs short and category-free. Our URL structure guide covers the trade-offs.
Step 3: Install one SEO plugin (15 minutes)
Yoast SEO, Rank Math and similar plugins all handle the essentials: title and description fields, canonical tags, XML sitemaps and basic schema. Pick one. Running two at once leads to duplicate titles, two canonical tags and two sitemaps, which confuses everyone including Google.
Inside the plugin, set:
- Title templates for posts, pages and categories. A sensible default is
%title% | Site name, then write custom titles for important pages. - Knowledge graph / organisation details: your business name and logo.
- Social defaults: a default sharing image, so links look decent on WhatsApp and Facebook. Check how a page appears with the Open Graph generator.
Step 4: Decide what gets indexed (10 minutes)
WordPress creates a lot of archive pages automatically: tag pages, date archives, author archives, attachment pages for every uploaded image. Most of them are thin lists that compete with your real content.
| Page type | Our usual setting | Why |
|---|---|---|
| Posts, pages | Index | Your actual content. |
| Categories | Index, if they have descriptions and several posts | Can rank for broad topics. |
| Tags | Noindex | Usually dozens of near-empty pages. |
| Date archives | Noindex or disable | Duplicate lists of the same posts. |
| Author archives | Noindex on single-author sites | Identical to the blog page. |
| Media attachment pages | Redirect to the file | Thin pages with one image each. |
Step 5: Check the sitemap (5 minutes)
Your SEO plugin creates a sitemap, often at /sitemap_index.xml. Open it and confirm it lists only what you want indexed: no tag sitemaps if tags are noindexed, no attachment URLs. Run it through the sitemap checker, then submit it in Google Search Console.
Step 6: Images (10 minutes to set up, a habit forever)
WordPress makes several resized copies of each upload, but it doesn't stop you uploading a 5,000-pixel, 6 MB photo. Two habits fix most image problems:
- Resize images before uploading, to roughly the largest size they'll be shown (often 1,200–1,600 px wide). The image resizer does it in the browser.
- Fill in the alt text field for meaningful images, describing what's in them.
An image optimisation plugin that converts to WebP and compresses uploads is worth adding on image-heavy sites.
Step 7: Speed basics (10 minutes)
- Caching: install a caching plugin, or use your host's built-in cache. This alone often halves load time.
- Fewer plugins: each one can add scripts and styles to every page. Remove the ones you don't use.
- A lightweight theme: multipurpose themes with sliders and page builders are heavy. If you're starting fresh, a lean theme saves a lot of work later.
Test before and after with the website speed test.
Step 8: Small settings people forget
- Site title and tagline (Settings → General): the tagline "Just another WordPress site" still appears on more sites than you'd think.
- Delete the sample page and post, "Hello world!" included.
- Comments: if you don't use them, disable them; spam comments with links hurt quality.
- HTTPS: make sure both WordPress Address and Site Address in Settings → General start with
https://.
After the hour
With the foundations right, WordPress SEO becomes mostly about content: a clear title and description on each page, good headings, useful text and links between related posts. The plugin's traffic lights are a helpful prompt, but don't write for a green dot. Write the page you'd want to find, then check it covers the basics.
Frequently asked questions
Which is better, Yoast or Rank Math?
Both do the essentials well. Choose the one whose interface you prefer and that does not slow your site. What matters is configuring it properly and never running two SEO plugins together.
Should I noindex category pages in WordPress?
Keep categories indexed if each has a written description and several posts, since they can rank for broad topics. Noindex tags, date archives and, on single-author sites, author archives.
Does WordPress create a sitemap automatically?
Yes. WordPress has a basic built-in sitemap at /wp-sitemap.xml, and SEO plugins usually replace it with their own, more configurable version.
How do I change permalinks on an existing WordPress site?
Change the setting, then make sure every old URL redirects to its new address with a 301. Many SEO plugins and redirect plugins can do this, but test the important URLs afterwards.

Written by the Mota-SEO team
We build free SEO and website tools. Our guides are practical, written for small teams, and checked against Google's own documentation.



Comments 0